How to Write SEO Blog Posts That Rank in 2026 – Part 5
Welcome to Part 5 of our complete beginner's guide to SEO blog writing.You've come a long way.
plz click and your learning journey start now.
In Part 1, you learned how SEO blog writing works and how Google discovers, understands, and ranks content.
In Part 2, you learned how to choose the right keyword, understand search intent, and analyze the top Google results before writing.
In Part 3, you planned your blog post by creating an SEO-friendly outline, writing a strong title, and preparing an engaging introduction.
Then, in Part 4, you finally started writing. You learned how to write for people first, use keywords naturally, create easy-to-read paragraphs, and keep readers interested throughout your article.
Now your blog post is written.
But don't hit the Publish button just yet.
Before publishing, you need to make sure your article is easy for readers to explore and easy for Google to understand. This is where on-page SEO optimization comes in.
Don't worry—SEO optimization doesn't mean changing your entire article or filling every paragraph with keywords. Most of the work is already done.
At this stage, you're simply improving the content you've written.
You may need to add a few helpful links, optimize your images, improve your URL, write a clear meta description, or check whether your headings are organized correctly. These small changes can make your blog post more complete and search-friendly.
Think of it like checking your work before submitting it. The main content is finished, but a final review helps you find small mistakes and improve the overall quality.
In this part of the guide, you'll learn how to optimize your blog post step by step before publishing.
We'll cover:
You don't need to complete all of these steps perfectly on your first blog post.
SEO gets easier with practice.
The more articles you write and optimize, the more natural this process becomes. after some time, many of these steps will become part of your normal writing routine.
The goal isn't to make your article look optimized for a search engine.
The goal is to make your content clear, useful, organized, and easy to understand.
When readers can easily explore your article and find the information they need, you're already moving in the right direction.
Let's begin with one of the simplest and most useful on-page SEO practices—adding internal links to your blog post.
14. Add Internal Links
Once your main content is written, one of the first things you should check is your internal links.
An internal link is a link from one page on your website to another page on the same website.
For example, you're reading a guide about SEO blog writing, and the article mentions keyword research. Instead of explaining the complete keyword research process again, you can link readers to your detailed Keyword Research for Bloggers Using AI in 2026 guide.
The reader can click the link and learn more about that specific topic.It's a simple idea, but internal linking can make your blog much easier to explore.

Keyword Research for Bloggers Using AI in 2026
For example, if your article mentions finding the right keyword, you don't need to explain the complete research process again. You can guide readers to our Keyword Research for Bloggers Using AI in 2026 guide, where we explain how bloggers can use Google, AI tools, and simple research methods to discover better keyword ideas.
15. Add Helpful External Links
Internal links connect readers to other pages on your own website.
But sometimes, your article may mention information, research, tools, or official guidelines that you haven't explained on your website.
That's where external links can help.
An external link is a link from your website to a page on another website.
For example, if you're explaining how Google Search works, you may link to an official Google Search documentation page for additional information.
Or, if you're discussing a research study or industry report, you can link to the original source so readers can check the information themselves.
External links should have a clear purpose.
he goal isn't to send readers away from your website. The goal is to support your content with useful and trustworthy sources when needed.
16. Create an SEO-Friendly URL
Your blog post is written, and you've added helpful internal and external links.
Now take a look at one small detail that beginners often ignore—the URL of your blog post.
A URL is the web address of a page on your website.
For example: nithonieldigitalhub.com/how-to-write-seo-blog-posts/
The last part of the URL tells readers what the page is about.
A clear URL may look like a small SEO detail, but it can make your website easier to understand and your content easier to manage.
Before you publish a new blog post, spend a few seconds checking your URL.
17. Optimize Your SEO Title and Meta Description
Your URL is ready.
Now think about what people may see when your blog post appears in Google Search.
Before someone visits your website, they may first notice the title and the short description connected to your page in the search results.
These details can help people understand what your article is about before they click.That's why it's worth reviewing your SEO title and meta description before publishing your blog post.
You don't need to write something complicated.Your goal is simple: clearly explain the topic and give the right reader a reason to visit your page.
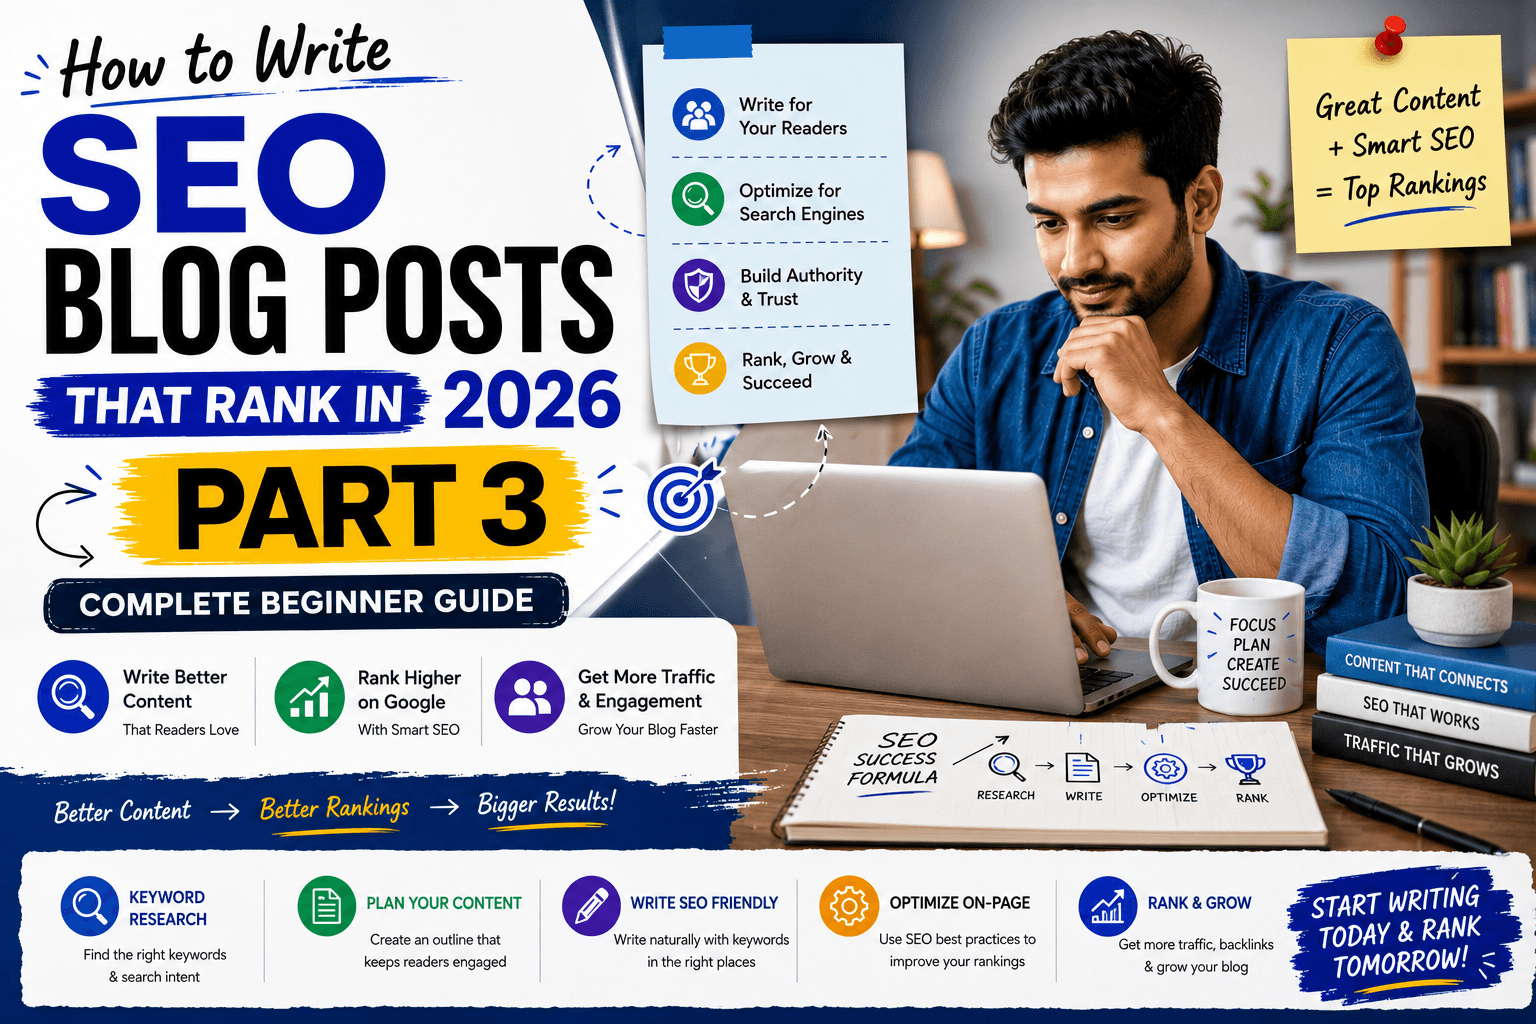
If you need help creating your main blog title before working on the SEO title, go back to Part 3: Plan Your Blog Post. We explain how to write an attention-grabbing title that clearly describes your content and encourages the right readers to click.
18. Optimize Images for SEO
Your SEO title, meta description, and URL are ready.
Now take a look at the images inside your blog post.
Images can make a long article easier to read. They can explain difficult ideas, show readers where to click, and break up large sections of text.
For example, if you're explaining how to use Google Autocomplete, a simple screenshot may be more helpful than writing several paragraphs about where the suggestions appear.
But adding images to a blog post isn't only about making the page look attractive.
Large image files can slow down your website. Unclear file names can make your media library difficult to manage. Missing alt text may make some useful images less accessible to people using screen readers.
That's why you should spend a few minutes checking your images before publishing.
You don't need to become a graphic designer or technical SEO expert.
A few simple image optimization habits can make a big difference.
Let's go through them step by step.
19. Complete Your Final On-Page SEO Check
Your blog post is almost ready.
You've written the main content, added helpful links, created a clear URL, reviewed your SEO title and meta description, and optimized your images.
Now there's one final step before publishing.
Review your entire blog post.
When you've spent hours writing an article, it's easy to miss small problems. A heading may be in the wrong place. A link may not work. You may have repeated the same keyword too many times or forgotten to add alt text to an important image.
A final on-page SEO check helps you catch these small issues before your article goes live.
Don't think of this as another complicated SEO task.
You're simply reading through your blog post one last time and asking: Is this article clear, helpful, organized, and ready for readers?
Let's check it step by step.
Key Takeaway
Optimizing your blog post for SEO doesn't need to be complicated.
Most of the work comes down to checking the small details that help readers and search engines understand your content.
Add useful internal links to connect related articles on your website. Link to trusted external sources when they genuinely support your content. Keep your URL short and clear, write an SEO title and meta description that accurately explain your page, and optimize your images so they are useful, accessible, and easy to load.
Before publishing, review your entire article one final time.
Check your headings, keyword use, links, images, readability, and mobile layout. More importantly, read the article from your reader's point of view.
Ask yourself:
Does this article clearly answer the question my reader came here to solve?
If the answer is yes, you're ready to move forward.
You've now completed the planning, writing, and on-page SEO optimization process.
But your work doesn't stop when you click Publish.
Frequently Asked Questions
Continue Your SEO Writing Journey
Your blog post is ready to go live.
So, what happens after publishing?
In the next part of this guide, you'll learn how to check your live blog post, help Google discover your page, promote your content, track its performance, and update it over time.
Continue to Part 6: What to Do After Publishing Your Blog Post →
Want to review an earlier step?